Real Estate Walkthrough Video: How to Plan and Shoot a Property Video Tour
How to plan and shoot a real estate walkthrough video: route order, shot list, camera settings, smooth moves, ideal length, and how to cut a vertical version for social.
Jennie Ji11 min read
TL;DR
A property video tour is the closest thing to a showing that a buyer can get from their couch. Agents know this, yet a lot of walkthrough videos still come out shaky, too long, or in an order that leaves viewers unsure how the rooms connect. Most of those problems trace back to skipping the plan before anyone presses record.
A good real estate walkthrough video follows the path a buyer would actually walk, runs one to three minutes for the full version, and is built from short, slow, steady clips that each show one space. Shoot with lights on and exposure locked, move half as fast as feels natural, and cut a 30 to 60 second vertical version for social. If you cannot get back into the home to film, you can build a walkthrough from the listing photos you already have.
What Is a Property Video Tour, and How Is It Different From a Virtual Tour?
People use the two terms loosely, so it helps to separate them. A property video tour, also called a walkthrough video, is a linear video. The viewer presses play and watches the home unfold in an order you chose. A 3D virtual tour is interactive. The viewer clicks around a scanned model and decides where to go next. We compare all the formats and their costs in our guide to virtual tours for real estate.
The difference matters because the jobs are different. A 3D tour answers "can I picture the layout?" for a buyer who is already serious. A video tour does more work earlier. It can play on Instagram, YouTube, Facebook, and the MLS without anyone needing to click. It carries music and a voice. It can be cut down for a Reel. For most listings, the video tour is the asset that actually gets watched.
There are two common ways to make one. You can film it on site with a camera or phone, or you can build it from the listing photos by adding motion to each shot. This guide spends most of its time on filming, then covers the photo route for listings where a shoot is not possible.
How Long Should a Real Estate Walkthrough Video Be?
Plan for two versions from the start.
The full walkthrough should run about one to three minutes. A condo with five rooms worth showing may only need 60 to 90 seconds. A large home with outdoor living can stretch toward three minutes. Past that, viewers start skipping, and the ones who skip tend to miss the rooms you saved for the end.
Jennie Ji
Hi, I’m Jennie Ji, a designer at vProp. I design experiences that help real estate agents introduce themselves and their listings more easily, save time, and present their properties in a polished way.
The social cut should run 30 to 60 seconds, vertical, and open on the strongest space in the home, not the front door. On Reels and TikTok, the opening shot has to give someone a reason to stop scrolling. A slow push into the kitchen or the view from the back deck can do that. A shot of the mailbox rarely will.
A useful rule while editing: every clip has to show something a buyer would ask about. If you cannot say what question a clip answers, cut it.
How Do You Plan the Route Through the Home?
Walk the home once without the camera. Pretend you are showing it to a buyer and notice where you naturally go. That path is your route. Most homes follow a version of this order:
Exterior approach and front elevation
Entry and the first view into the main living space
Kitchen and dining
Living or family room
Primary suite, including the bathroom and closet
Secondary bedrooms and bathrooms, grouped together and kept brief
Bonus spaces: office, laundry, basement, garage
Backyard, outdoor living, and any view
A final exterior or twilight shot to close
Then write a shot list on your phone before you film. One line per clip: the room, where you start, which way you move, and where you stop. "Kitchen: start at the island corner, slow push toward the window over the sink" is enough. A shot list keeps you from filming the same corner three times and forgetting the laundry room completely.
Plan your transitions too. Viewers get lost when the video jumps from a bedroom to the backyard with no connection. Moving through a doorway, or ending one clip facing the direction the next one starts, keeps the layout readable. You do not need every hallway. You need enough continuity that a viewer could sketch a rough floor plan afterward.
Before filming, prep the home the same way you would for photos. Turn on every light, including lamps and under-cabinet lights. Open blinds. Hide cords, toiletries, pet bowls, and anything with a family name on it. Close toilet lids. Check mirrors and glass doors so you know where to stand to stay out of the reflection.
How Do You Shoot Smooth Walkthrough Footage?
Smooth footage comes from three things: stable gear, consistent settings, and slow movement. You can get all three with a phone.
Gear
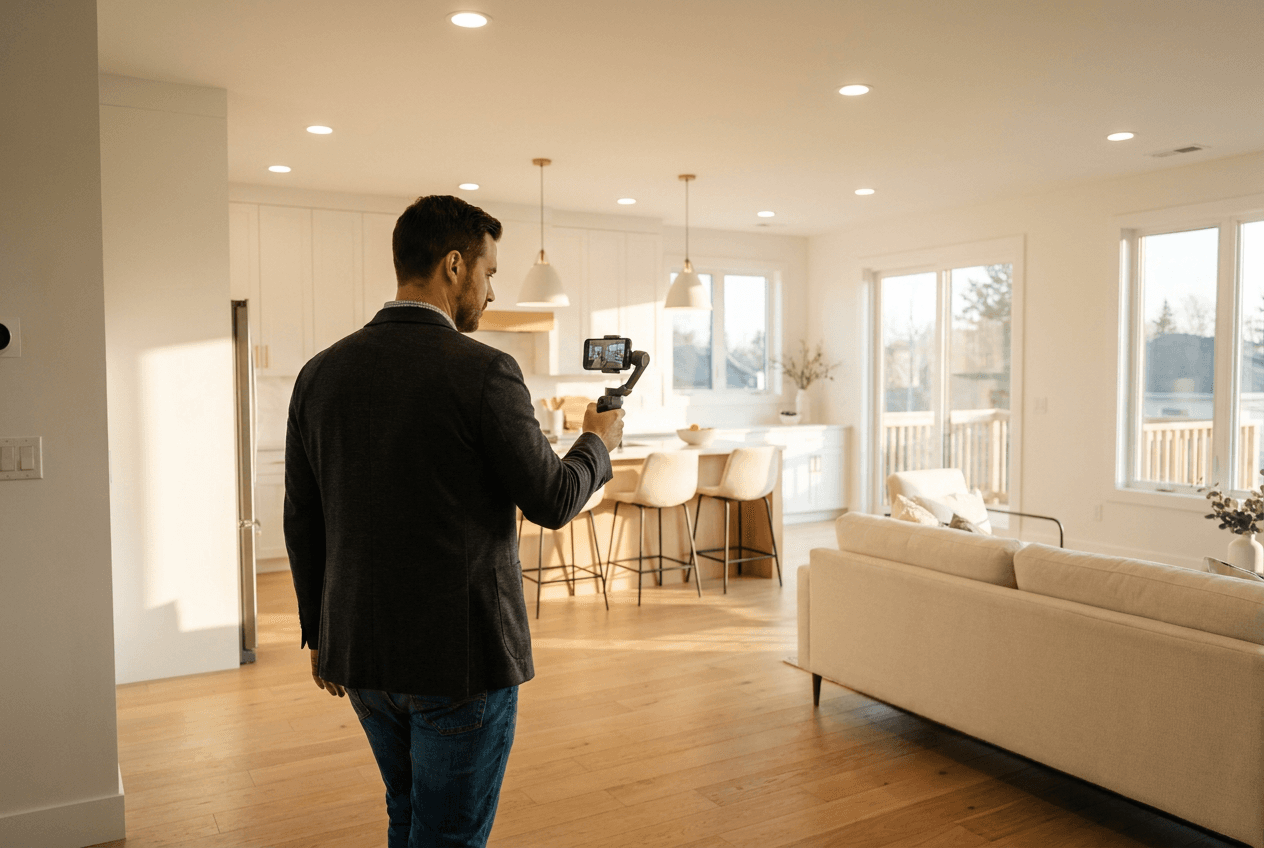
A recent smartphone can shoot a perfectly good walkthrough. Add a handheld gimbal and the footage gets dramatically steadier. If you use a mirrorless camera, a wide lens in the 16 to 24mm range (full frame equivalent) shows rooms without the stretched edges you get from going much wider. A small LED light helps in dark hallways but is optional if the home is well lit. Bring spare batteries and clear storage. A full walkthrough with retakes eats both quickly.
Settings
Shoot in 4K if your device allows it. It gives you room to crop and still deliver a sharp HD file. Pick one frame rate and stay with it: 24 or 30 frames per second looks natural. If you want extra smoothness, shoot at 60 and slow it down in editing.
Lock exposure and white balance before each clip. If you let the camera adjust on its own, the picture will brighten and darken as you pass windows, and the color will shift between rooms. On most phones you can tap and hold on the screen to lock exposure. Expose for the room, and accept that bright windows may clip a little. That looks more natural than a dark room with a perfect view.
Camera moves
Keep the camera around chest height and level with the floor. Tilted horizons make rooms feel off even when viewers cannot say why. Use a small set of moves and repeat them:
Slow push: walk straight toward a focal point, like a fireplace or a window with a view.
Slow pull: start close to a detail and back away to reveal the room.
Side slide: move parallel to a counter, a wall of windows, or a bed to show depth.
Doorway reveal: start just outside a room and move through the door so the space opens up.
Move about half as fast as feels right. Footage filmed at normal walking speed usually looks rushed on playback. Hold still for a beat at the start and end of every clip so you have clean edit points. Most clips should end up three to six seconds in the final cut, so you only need eight to ten seconds of usable footage per take. Shoot two takes of every important room. It costs a minute and saves a return trip.
How Do You Finish and Share the Video?
Editing a walkthrough is mostly trimming and ordering. Lay the clips in your route order, cut the start and end of each, and remove anything that repeats. Our guide to real estate video editing walks through the cutting process in more detail, including when it makes sense to hand the edit to software.
Music and narration
Pick instrumental music with a steady tempo and a license that covers commercial use. Avoid tracks with lyrics under a voiceover. Cut on the beat when you can. It makes even simple footage feel deliberate.
Narration is optional, but it helps. A short script that names what the camera cannot show, like the age of the roof, the school district name, or the commute to downtown, adds information a buyer would otherwise have to look up. Keep it factual and about the property. Describe the home and its features, not the kind of person who should live there. That keeps you clear of Fair Housing problems and is more useful to viewers anyway.
Text and captions
Add short on-screen labels for rooms or features that are not obvious, such as "Primary suite" or "Finished basement." Add captions to any version with narration so people watching on mute can still follow along.
Export and where to post
Export a horizontal version for YouTube, your website, and the MLS, and a vertical version for Reels, TikTok, and Stories. Many MLSs only accept an unbranded video in the virtual tour field, meaning no agent name, logo, or contact details. Check your MLS rules and export a clean version alongside the branded one.
Then put the video to work. Post it on listing day, again when you announce an open house, and again when the price or status changes. The one listing, two weeks of posts plan shows how to turn a single walkthrough into a full posting schedule, including where the vertical cut fits.
What If You Can't Get Back Into the Home to Film?
Sometimes the walkthrough has to happen without a camera in the house. The seller has moved back in, the listing went live before anyone thought about video, or you are marketing a property in another city. In those cases, the listing photos are your raw material.
A photo-based walkthrough uses the same planning rules: route order, one space per shot, slow motion on each image, music, and captions. Our step-by-step guide on making a real estate video from photos covers which photos to pick and how long each should stay on screen.
AI tools can also do this for you. vProp's Cinematic Walkthrough turns listing photos into one continuous, movie-style shot through every room. If you want a voiceover, vProp's listing videos can add AI narration and captions, and you get portrait and landscape versions in one go. You can try it free without a credit card. Whether you film or build from photos, review the result the same way: does it follow a buyer's path, and does every shot earn its place?
A Note for Real Estate Photographers
If you shoot listings for agents, walkthrough video is one of the easiest add-ons to sell, because you are already on site with the lights on and the home prepped. Price it per property rather than per minute of finished video. Agents understand "photos plus walkthrough" as a package. They do not want to think about runtime.
Deliver three files every time: a branded horizontal cut, an unbranded horizontal cut for the MLS, and a vertical social cut. Agents notice when they do not have to ask for the second and third versions. For listings you already photographed, you can offer a photo-based walkthrough as a lower-cost upgrade without a second visit. That keeps editing from becoming the bottleneck and lets you take on more shoots. For package structures and how to position video against your photo pricing, see our guide on adding a profitable video upsell to real estate photography packages.
Key Takeaways
Plan the route before you film. Walk the home once and follow the order a buyer would.
Write a one-line-per-clip shot list so nothing gets filmed twice or forgotten.
Make two versions: a one to three minute horizontal walkthrough and a 30 to 60 second vertical cut that opens on the best room.
Lock exposure and white balance, keep the camera level at chest height, and move at half your natural speed.
Keep narration factual and about the home's features.
Export a clean, unbranded version for the MLS if your MLS requires it.
If you cannot film, build the walkthrough from the listing photos with the same route and pacing rules.
Frequently Asked Questions
How long should a property video tour be?
For the full walkthrough, about one to three minutes, depending on the size of the home. For Instagram Reels, TikTok, and Stories, cut a separate 30 to 60 second vertical version that opens on the strongest room instead of the front door.
Can I shoot a real estate walkthrough video with my phone?
Yes. A recent smartphone in 4K, with exposure and white balance locked, produces footage that is good enough for the MLS and social media. A handheld gimbal is the single upgrade that makes the biggest difference, because it removes the bounce from walking.
What order should a walkthrough video follow?
Follow the path a buyer would take on a showing: exterior and entry, then the main living spaces and kitchen, then the primary suite, then secondary bedrooms and bonus rooms, and finally the backyard or view. Move through doorways between clips so viewers can keep track of the layout.
 Jennie Ji11 min read